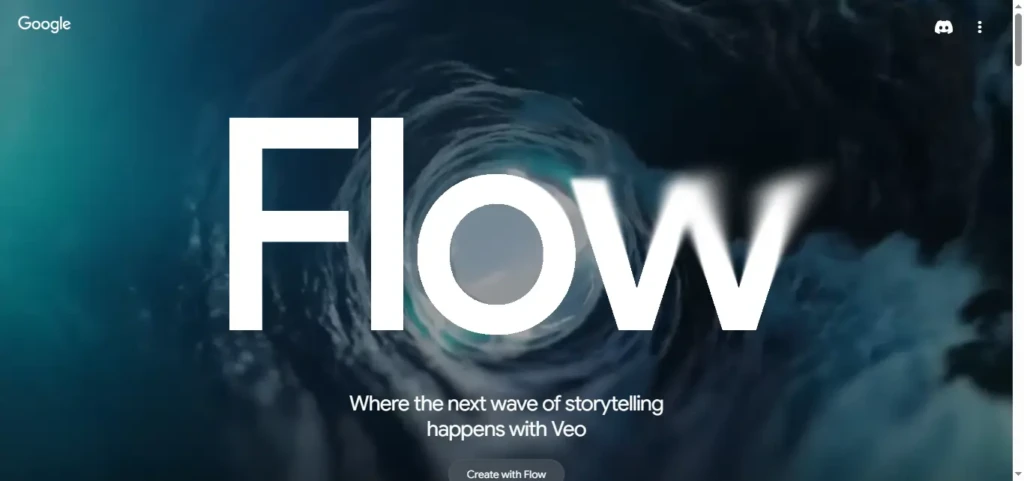
At the time of writing this, Veo 3 is still pretty new — and not everyone has access yet.
- How To Get Access to Veo 3
- Setting Up Your Account
- Choosing the Right Input Method
- Crafting a High-Quality Prompt
- Adjusting Video Settings
- Generating Your First Video
- Reviewing and Editing Output
- Saving and Exporting
- Tips for Better Results
- Use Cases: What You Can Make
- Working with Veo in a Creative Workflow
- Common Mistakes to Avoid
- Conclusion: Keep Practicing
But here’s the thing: it’s already changing how people create videos.
Unlike most AI tools that give you short clips or cartoonish motion, Veo 3 delivers cinematic, realistic results.
If you’re curious about how to get started — or how to get better at Using Veo 3 Like a Pro — this guide is for you.
We’ll walk through everything from access to prompt writing to getting that final 4K render you’ll actually want to share.
Let’s go.
How To Get Access to Veo 3
As of now, Veo 3 is available through specific platforms and subscription plans:
• Gemini App: Accessible to users subscribed to the Google AI Ultra plan ($249.99/month), allowing video generation directly within the app.

• Google Flow: An AI filmmaking tool designed for creators seeking more control over their video projects, integrating Veo 3’s capabilities.
• Vertex AI: For enterprise users, Veo 3 is integrated into Google’s Vertex AI platform, facilitating large-scale and professional applications.
Setting Up Your Account
Once you’re in, setup is simple:
• Log in with your Google account
• You’ll see a clean dashboard — with prompt options, preview windows, and a video generation panel
• If you’re using it through Workspace, you may need admin access to link the tools
No installs. Just log in and start.
Choosing the Right Input Method
Veo 3 supports different ways to start your video:
• Text prompt: Type a scene, like “a quiet beach at sunrise with a slow zoom in”
• Image prompt (if enabled): Upload a still photo to animate or expand visually
• Hybrid: Some test versions let you mix both — ideal for creative control
Start with text if you’re new. It’s simple and powerful.
Crafting a High-Quality Prompt
This is where the magic happens. A good prompt = a great video.
Include:
• Subject: What’s happening
• Action: What the subject is doing
• Scene: Location, time of day, mood
• Style: Cinematic, documentary, moody
You can grab our VEO 3 Prompt Pack Here
Use film terms like: tracking shot, depth of field, ambient lighting. Veo understands that language.
Adjusting Video Settings
Once your prompt is ready, dial in the details:
• Length: Choose between short loops or longer clips
• Aspect ratio: 9:16, 16:9, square, cinematic
• Frame rate and resolution: Adjust as needed
• Advanced settings: If applicable, tweak for finer control
Generating Your First Video
• Click the “Generate” button
• Wait a bit — processing time varies
• Preview the video and decide if it meets your expectations
Reviewing and Editing Output
• Tweak if it’s not right: Adjust your prompt for better results
• Regenerate vs refine: Decide whether to start fresh or make minor edits
• Understand changes: Small prompt tweaks can lead to significant differences
Saving and Exporting
• Download formats: MP4, MOV, etc.
• Resolution options: Choose the quality that suits your needs
• File size and quality tips: Balance quality with file size for your intended use
Tips for Better Results
• Be specific, not wordy: Clear, concise prompts work best
• Stick to one scene per prompt: Avoid overcomplicating
• Test different styles: Experiment with film, slow-mo, aerial, etc.
Use Cases: What You Can Make
• Brand ads: Create promotional content
• Short films: Develop narrative pieces
• Explainers: Visualize complex ideas
• Moodboards and visual concepts: Present creative directions
Working with Veo in a Creative Workflow
• Pairing Veo with editing tools: CapCut, Premiere, Canva
• Using Veo videos in content calendars: Plan and schedule content
• Building storyboards from Veo clips: Visualize scenes before full production
Common Mistakes to Avoid
• Overloading the prompt: Keep it focused
• Ignoring visual terms: Use descriptive language
• Expecting perfection on the first try: Iterate for best results.
Conclusion: Keep Practicing
You don’t need to be a pro to use it like one. Every video gets better with clearer prompts.
Veo 3 is your creative partner — not just a tool.


Greetings! I’ve been reading your website for a while now and finally got the bravery to go ahead and give you a shout out from Atascocita Texas! Just wanted to say keep up the great job!