Custom GPTs allow you to create your own versions of ChatGPT with additional information, focus on a particular subject, and a specific set of functionalities.
It’s sort of How to create Your Own AI Assistant In ChatGPT without any coding skills.
Let’s go through how to create your own Custom GPT, who can create such GPTs, and what benefits you can get from creating them.
But first…
What Are Custom GPTs And How Do They Work
Custom GPTs are simply customized versions of the main platform. Precisely, Custom GPTs is a feature in ChatGPT that allows you to create and use additional tools and resources, namely GPTs.
How do they work? Custom GPTs are trained to be smarter in a specific subject of interest.
For example, if you’re a science student, you may decide to create a GPT for solving problems related to Calculus.
That Calculus GPT will handle all tasks related to the subject differently.
Is this feature similar to ChatGPT being an open-source platform?
No, the difference between the open-source feature and this one is that this Custom GPTs feature is accessible from the main website only.
So, yes, you are creating customized GPTs, but they are not independent.
I’ve introduced you to the feature and how it works. Let’s get to the actual stuff now: Creating your own AI assistant in ChatGPT.
How to Create Your Own AI Assistant in ChatGPT (X Steps)
Step 1: Open the ChatGPT Website
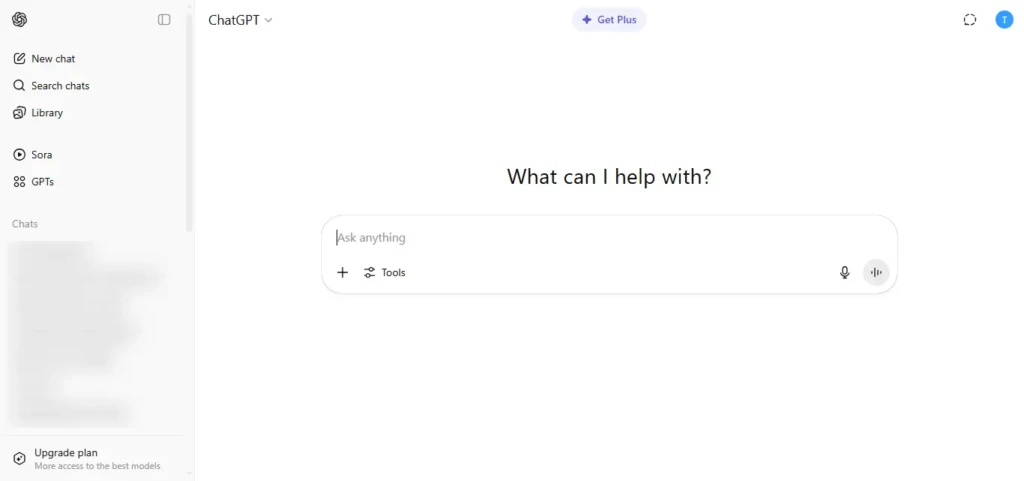
Now, start by opening the ChatGPT website.
What’s more, you will also have to log in to your account. ChatGPT allows you to access its basic features without logging into your account.
But this Custom GPTs feature is only accessible in logged-in sessions. So, log in and let us go to the next step.
Step 2: Open the Left Menu
Open the left sidebar to access the menu. It’s there that you will see your recent chats and some settings.
Step 3: Click on Custom GPTs
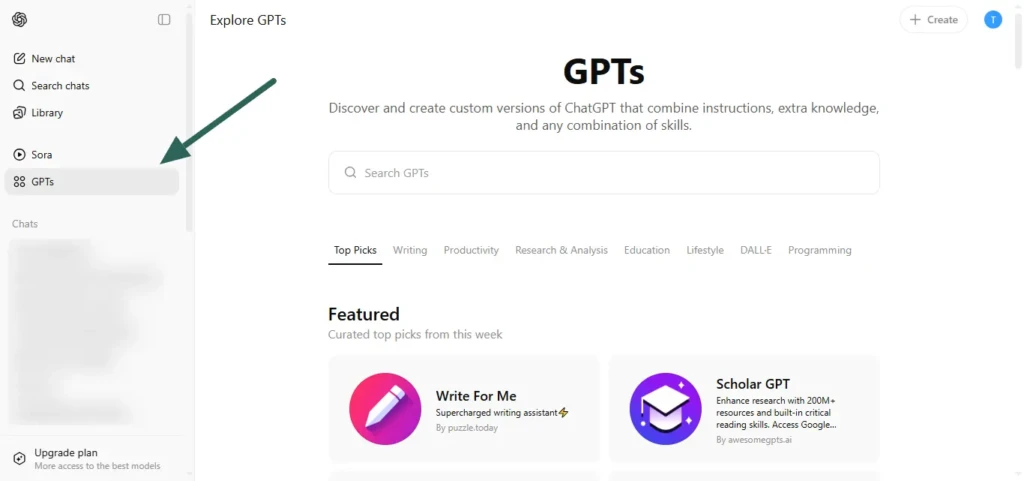
In the menu items within the sidebar, click on Custom GPTs.
That is the link that leads to the GPTs page, where you can find useful tools.
The best part, it’s the same page on which you can create your own AI assistants or GPTs. Speaking of creating GPTs, let’s do that.
Step 4: Click Create
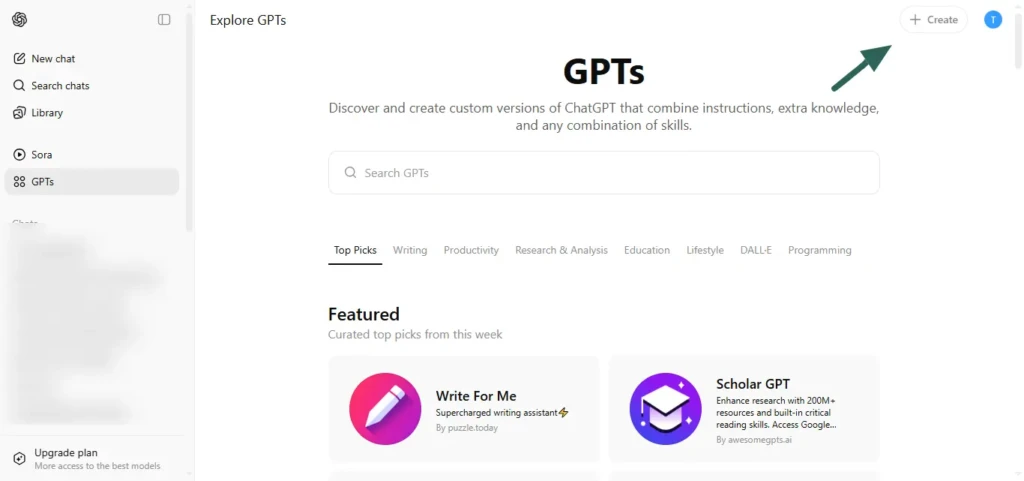
Click the +Create button at the top right corner of the GPTs page.
That will initiate the GPT creation process. After clicking on the create button, you will see two tabs: “Create” and “Configure” tabs.
Step 5: Tap the Create Tab
In this tab, you will message the ChatGPT built-in GPT creator and ask it to create a GPT for you.
Simply, you are sending a prompt to the GPT builder. So, for example, you can say something like:
“Create an assistant that can help me create social media content in less time.”
And after your prompt has been sent, the GPT builder will create your custom GPT for you.
Once you are done setting it up in the Create tab, you can now set up additional features in the Configure tab.
Step 6: Configure the GPT
Click on the configure tab.
That’s where you will decide what actions and features are important in your GPT.
For example, if you want to use that GPT to browse the internet in a certain way, this is where you will add that feature.
Additionally, you can add conversation starters as well.
Conversation starters are the few sentences you see when you open a GPT for the first time.
They kind of read your mind by presenting some of the common statements that you are likely to send as a prompt.
And since it’s a custom GPT, you can add some custom instructions to make the GPT much more helpful.
To wrap up the Configure tab settings, you can add an image for your GPT or ask the GPT builder to create an image for it.
This will be very helpful to anyone who wants to know what the GPT is about.
Now, you have created a GPT, so let’s manage it.
Step 7: Manage Your GPT
After creating the GPT, you can share it with others, and it might appear in the GPTs tab of ChatGPT. That’s the first management task you will do.
Moreover, you will be able to update your GPT.
That means you can create newer versions of your AI assistant.
You can also decide who can access your custom GPT.
But by default, it’s accessible to all users.
Finally, you can decide to duplicate or delete your GPT.
That’s all for the steps you should follow to create a Custom GPT, configure it, and manage it.
But is creating a custom GPT accessible to all ChatGPT users? That’s what we’ll look into in the final section.
Final Words
You’ve learned how to create a custom GPT. But… Can all users create GPTs? No, only those users who are on the premium plan of ChatGPT can create their own AI assistants or GPTs.
So, if you are on the free plan, upgrade your account to access the feature.
It’s worth paying for, isn’t it?


